How to translate a blog post
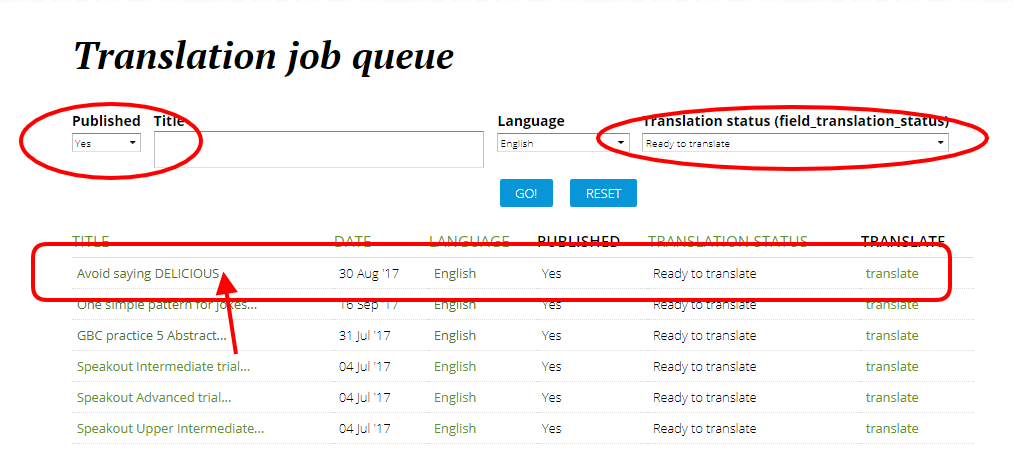
Step 1: Let's go to the Translation job queue page and click "Yes" on Published and "Ready to translate" on Translation status. We're going to click on the top one here. You can click the title ("Avoid saying DELICIOUS"), and you'll jump to the page.
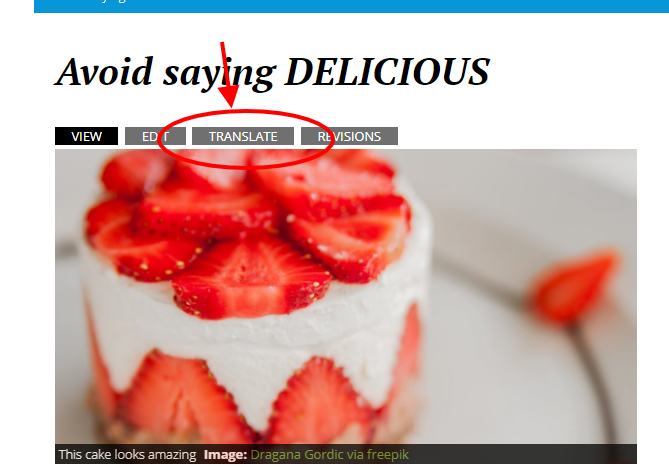
Step 2: Click "TRANSLATE".
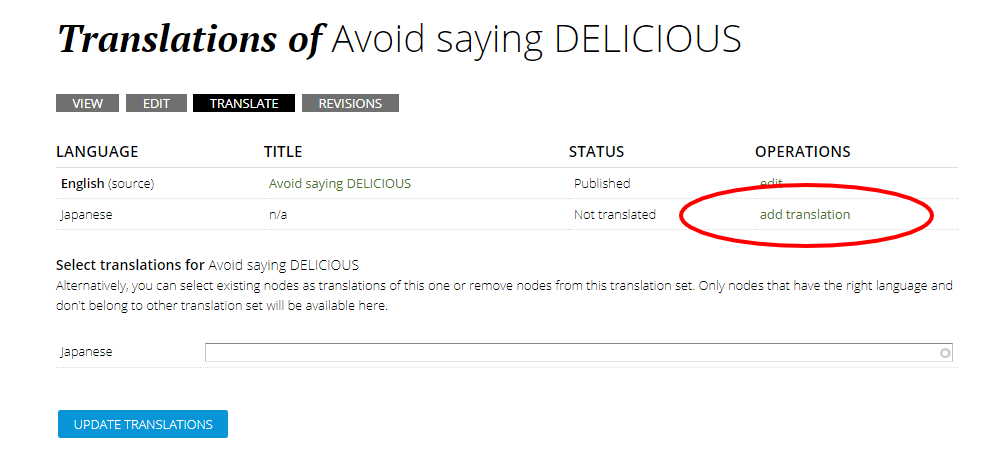
Step 3: Go to the row with the language you'd like to translate this page in (in this, case we'll use Japanese), and click "add translation" under OPERATIONS.
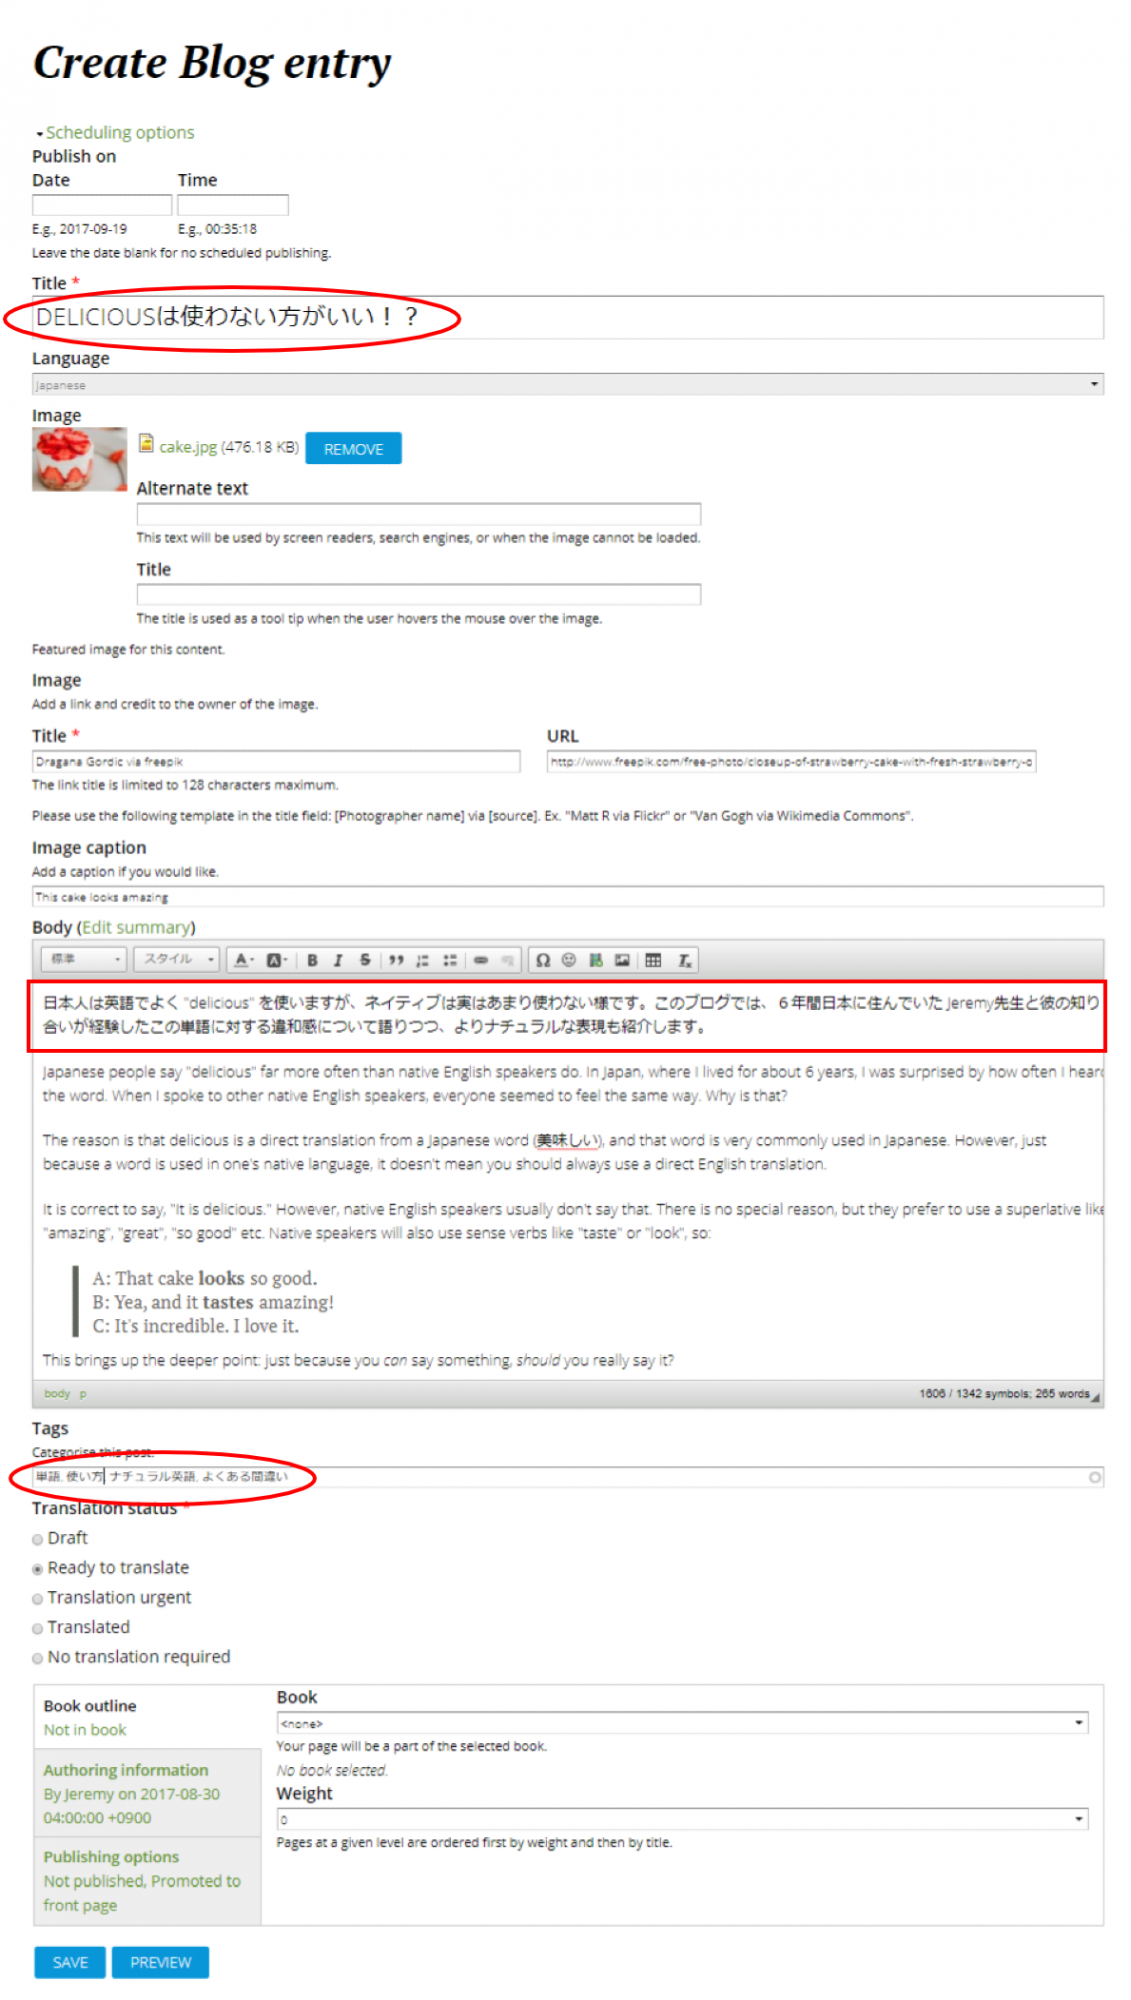
Step 4: There are 3 things to translate.
1. The title;
2. The body (don't be alarmed by the big square! You only have to write a short intro at the beginning); and
3. The tags.
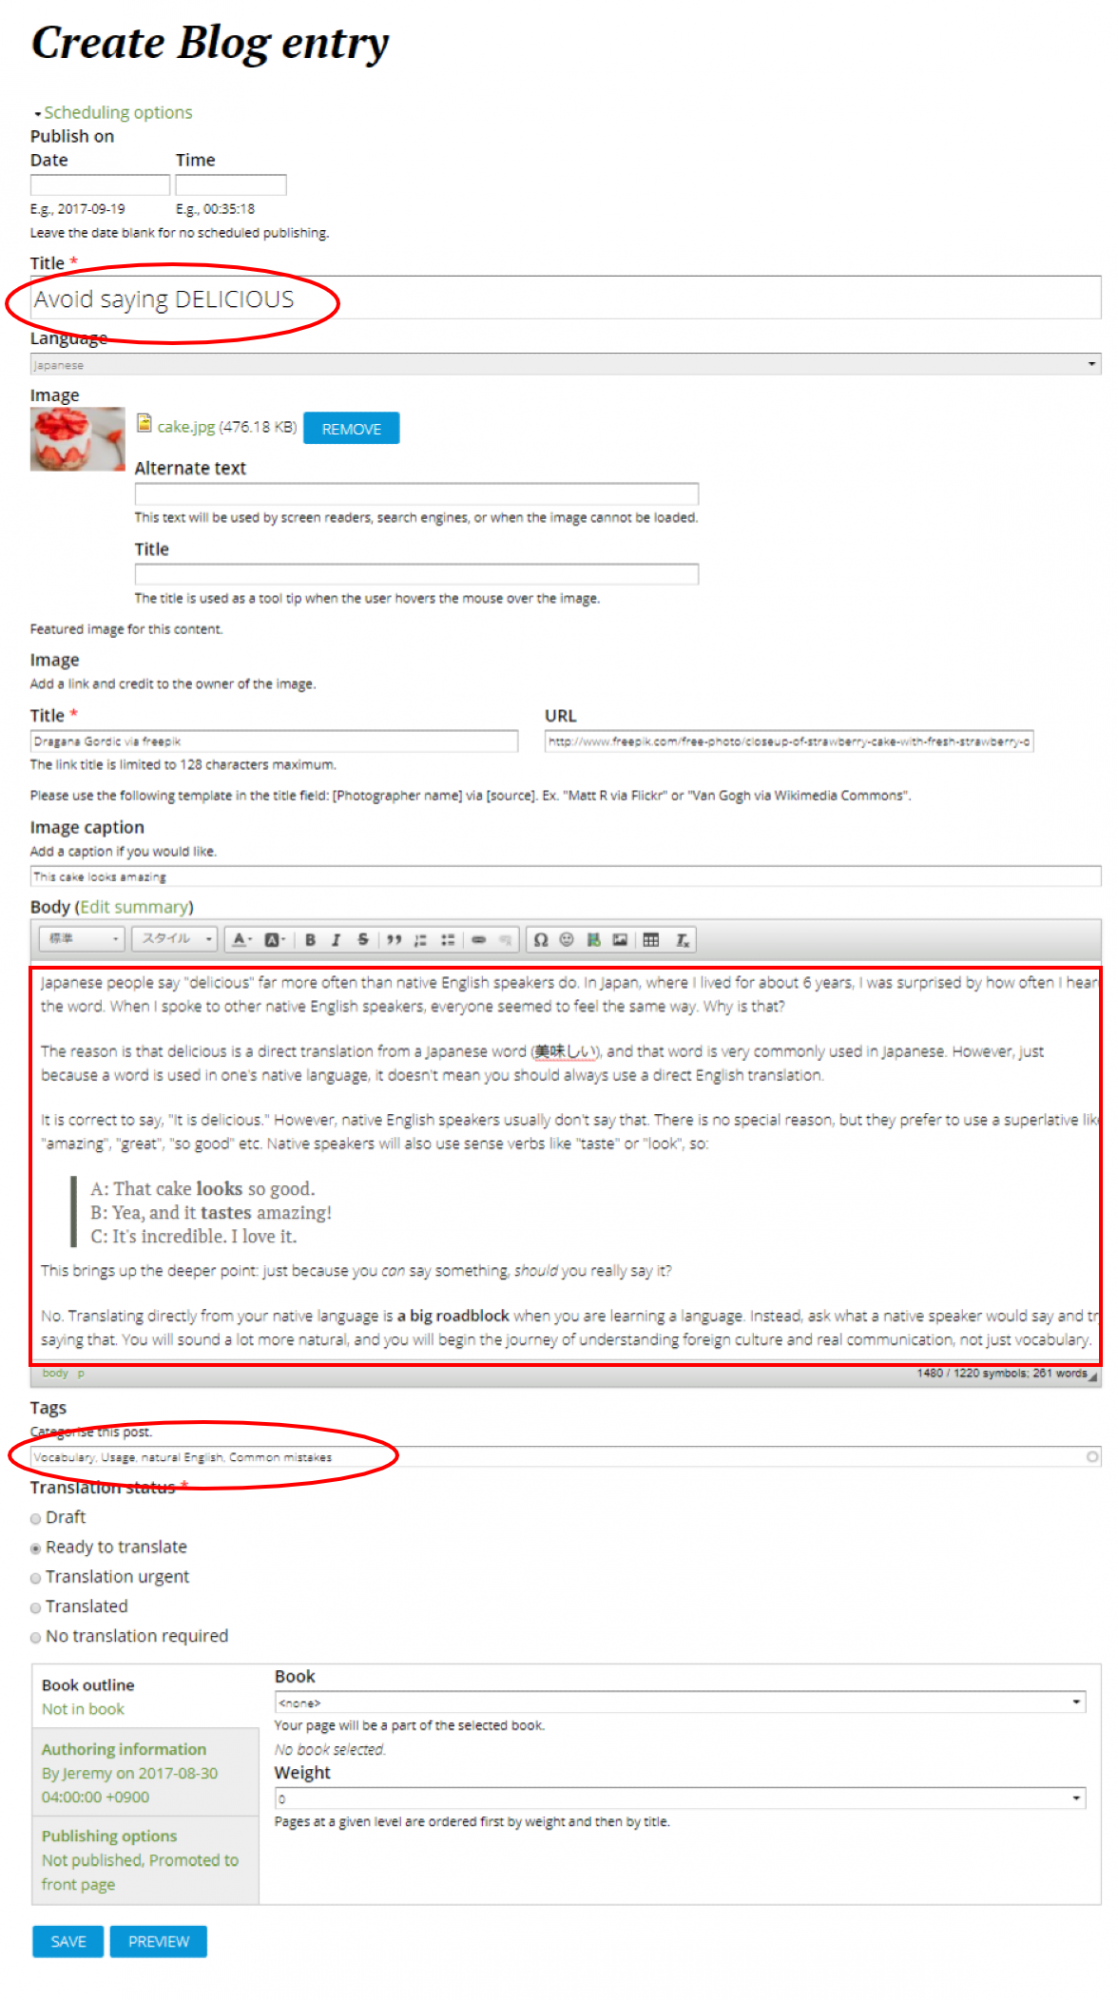
If you look at the body, you'll notice that the actual content has not been translated at all. In Japanese, there is a quick introduction (including some parts of the first paragraph in this case. If there's nothing in the first paragraph you think you can use, it's okay not to). It is mainly more of a teaser and the writer's own take of what the blog is about so that readers will want to read it... in English. The key here is to think of this as more of an editorial comment more than an actual word for word translation.
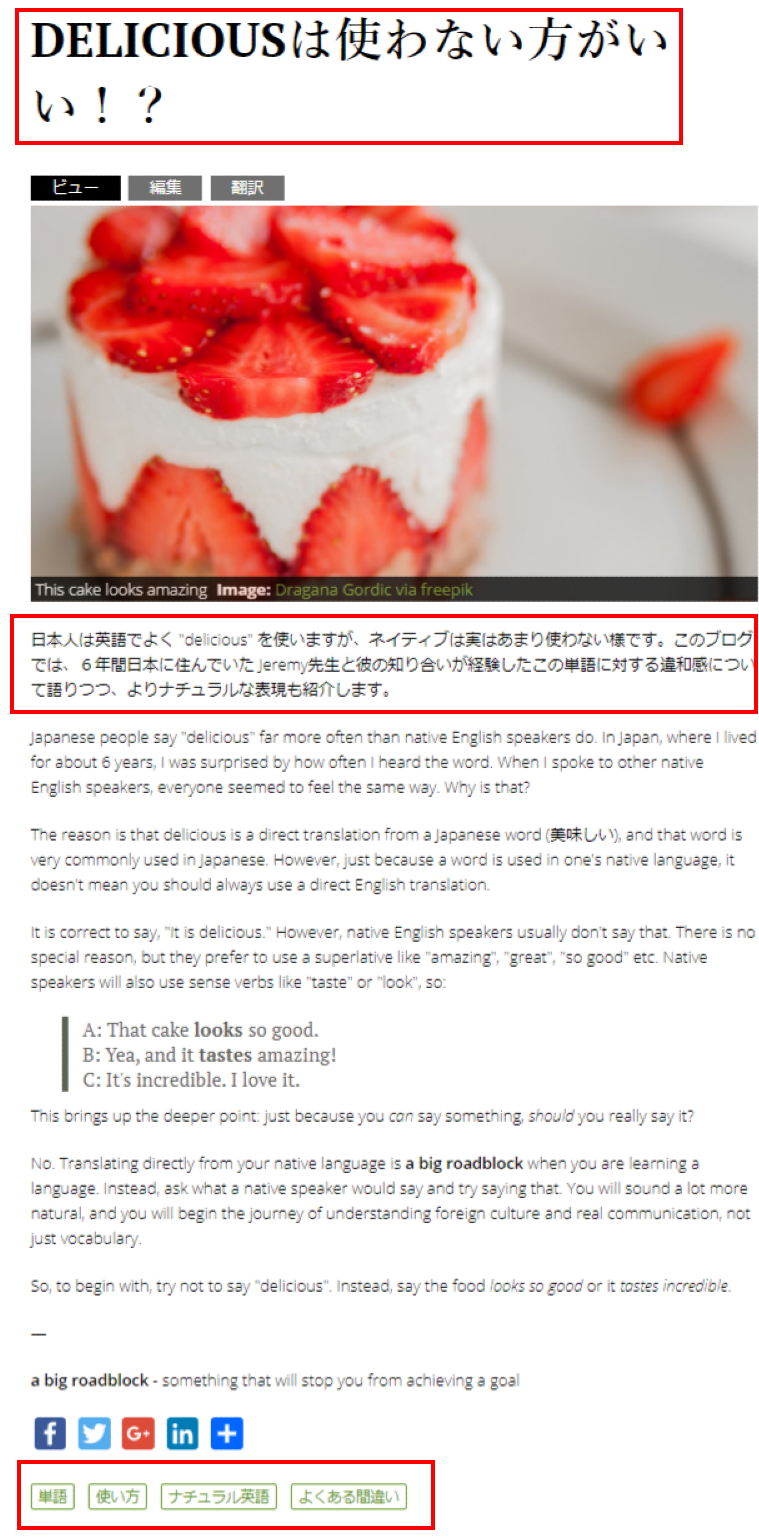
Step 5: Remember to hit SAVE when you're done, and...
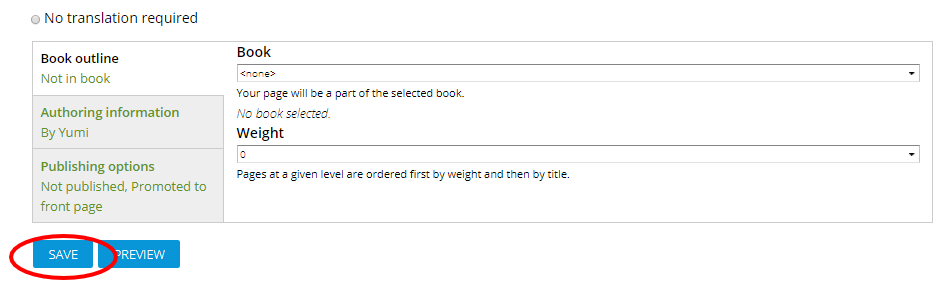
Voilà!
Step 6: Once something gets translated and is all ready, ping Matthew so that he can change the URL accordingly.