Adding corporate points
To give corporate points to a group of students, first go to Structure on the top left-hand page.

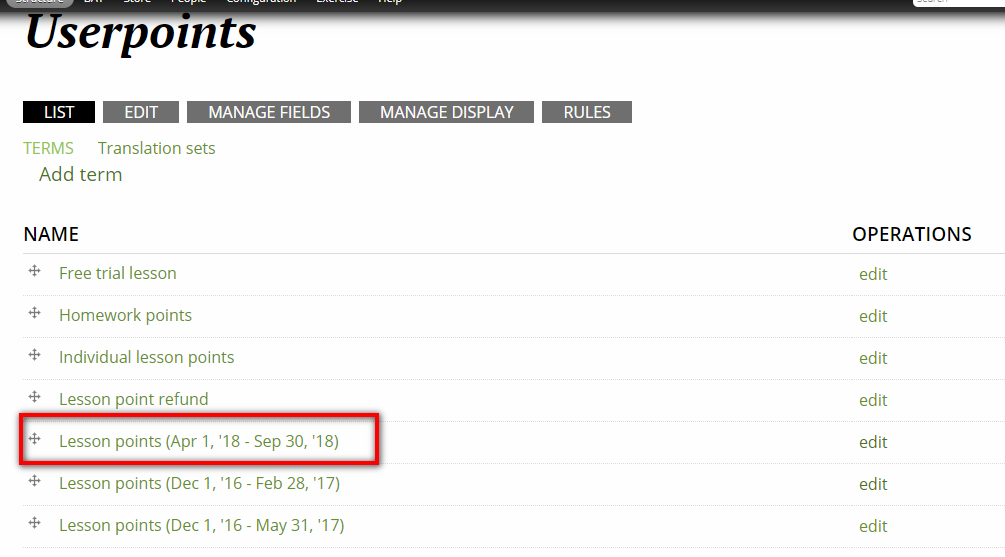
Go to Taxonomy, and click Userpoints. You will jump to the page below. Scroll down, choose an existing term, and copy it to use it as the template for the new term name.
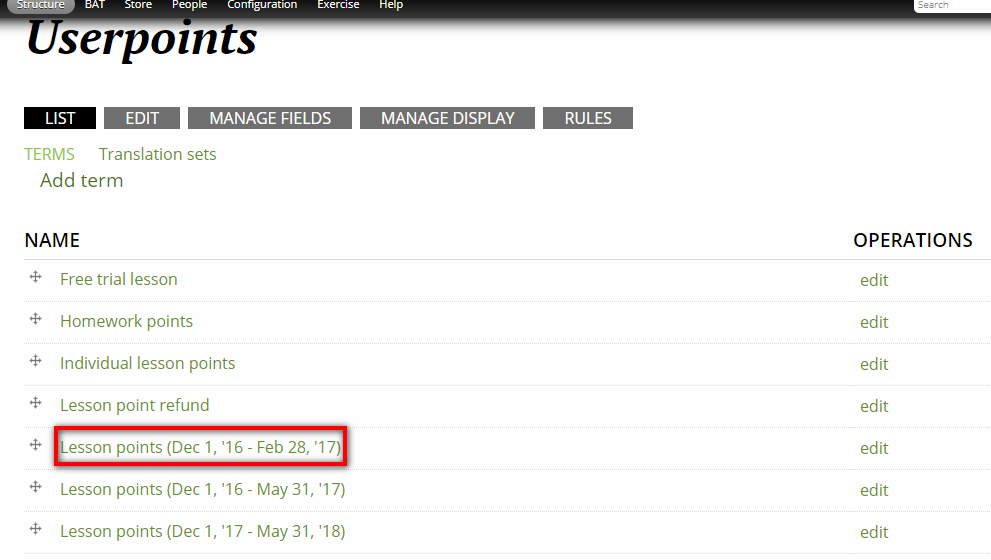
Next, scroll back up, and click "Add term".
It will take you to the page below. Paste the existing term name under Name.
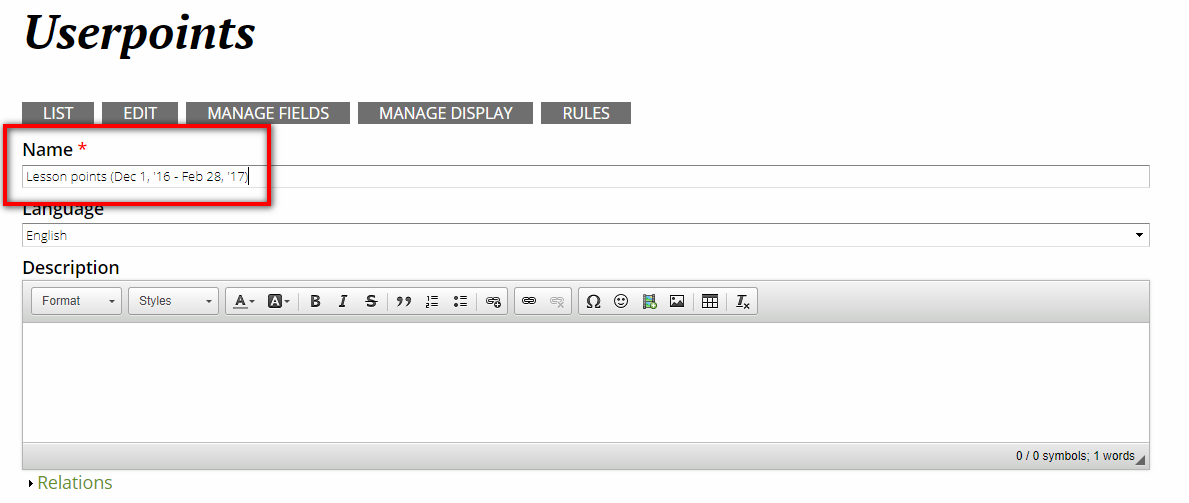
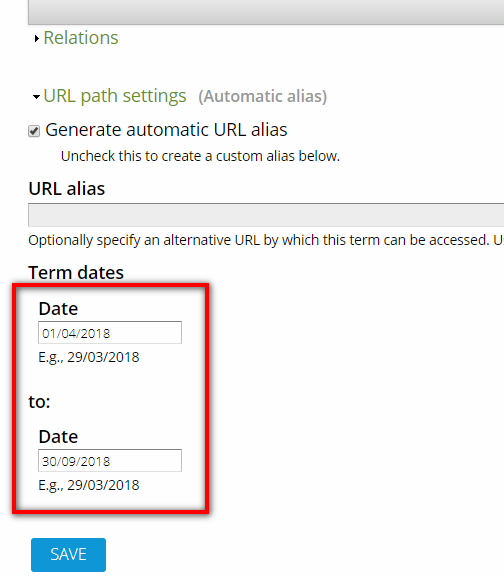
Then change it to the correct term. Please remember to write everything in the same order. The Language setting should be set to Language neutral. Please write the description as it is written in the screenshot below (with the correct dates).
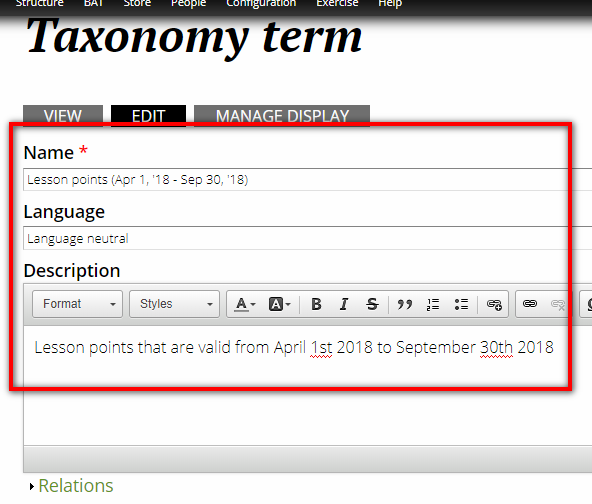
This next part is the important part. You scroll down to "Term dates", and change the start and finish date of the points accordingly. Please double-check and make sure you've changed the dates because if they are incorrect, it will cause problems. That said, if you do make a mistake (and have students contacting support about not being able to use their points), you can always fix it by editing it.
Click "save". You should go back to the previous Userpoints page to make sure the term you added is there.
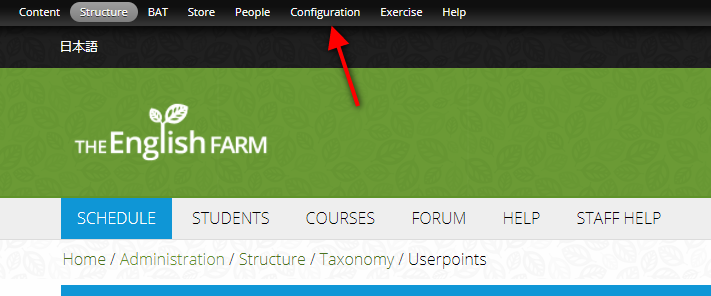
Next, we need to create a spreadsheet. First, you go to Configuration → people → TEF User Import.
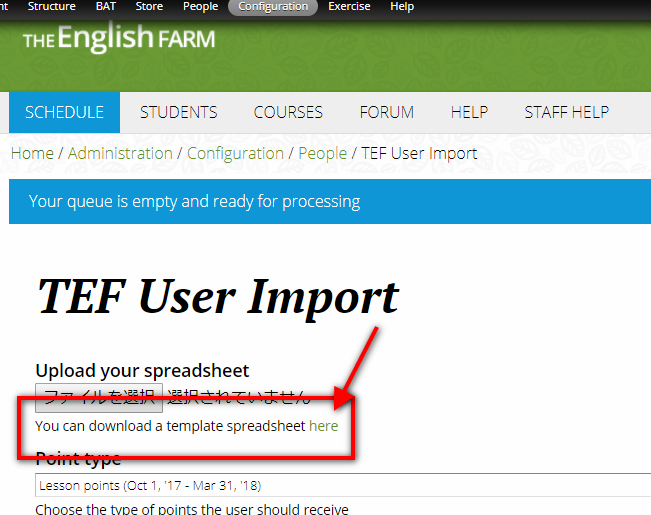
It will take you to the page below. Just click the green "here" link, and you will be able to download the excel sheet you need.
It will look like this:
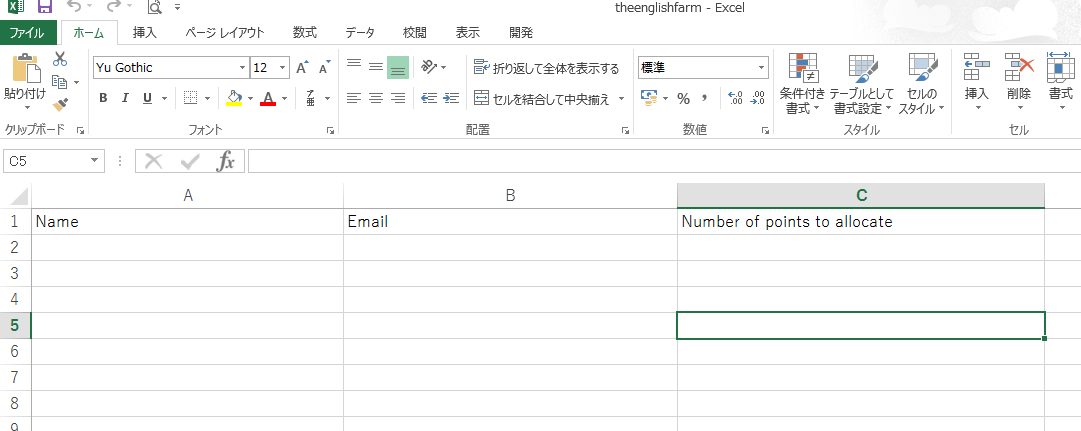
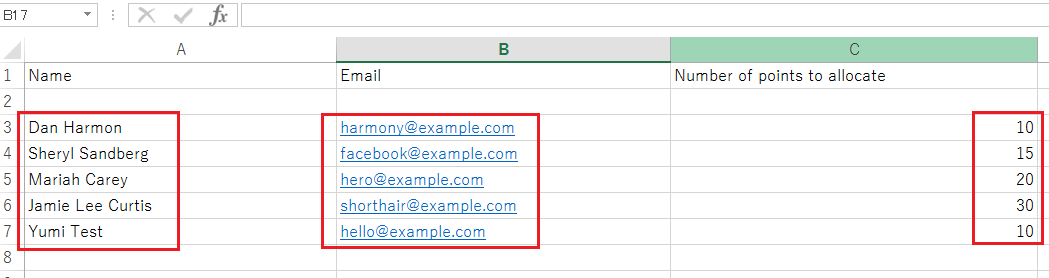
Make sure the names, email addresses, and number of points to allocate are in the right categories. If the HR person sends us the excel sheet, you can just copy and paste it. Usually, the only thing you will have to change is the names (please make sure they are: first name, last name). You can use CONCATENATE (ex: =CONCATENATE(E2," ",D2)) to flip the names into the right order. One way we can quickly check whether we have the correct list or not is to look at all of the email addresses and make sure they are from the same company.
Getting the spreadsheet right is important. If you are not confident, ask someone else to do it or get help doing it.
Save the file, and go back to the User Import page where you downloaded the spreadsheet.
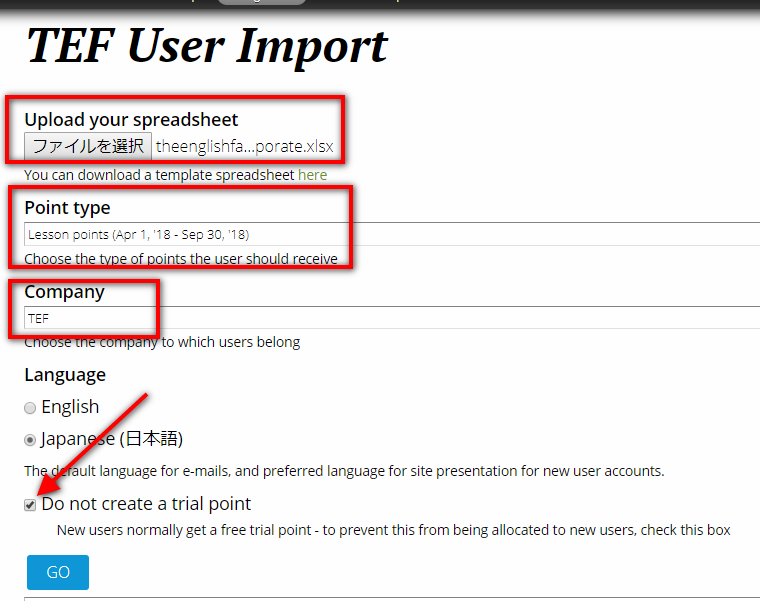
- Upload your spreadsheet. Remember to upload the correct one.
- Choose the point type for the term.
- Choose the company.
- Remember to click "Do not create a trial point." Press "Go."
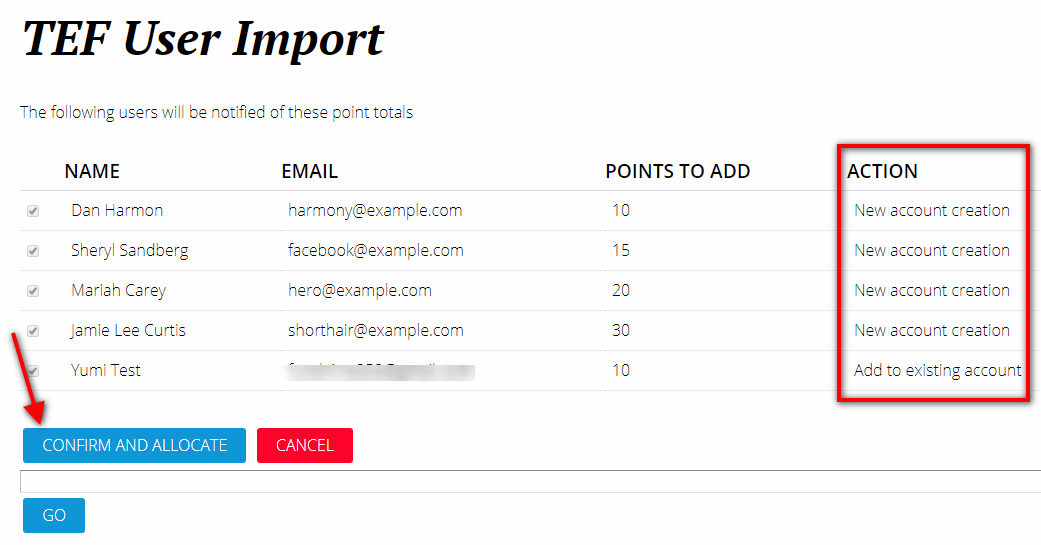
Pressing "Go" doesn't immediately allocate the points. You will go to this page first. As you can see under "ACTION", new accounts will have "New account creation" written next to them, while existing accounts will have an "Add to existing account." Make sure the correct information has been uploaded and click "CONFIRM AND ALLOCATE".
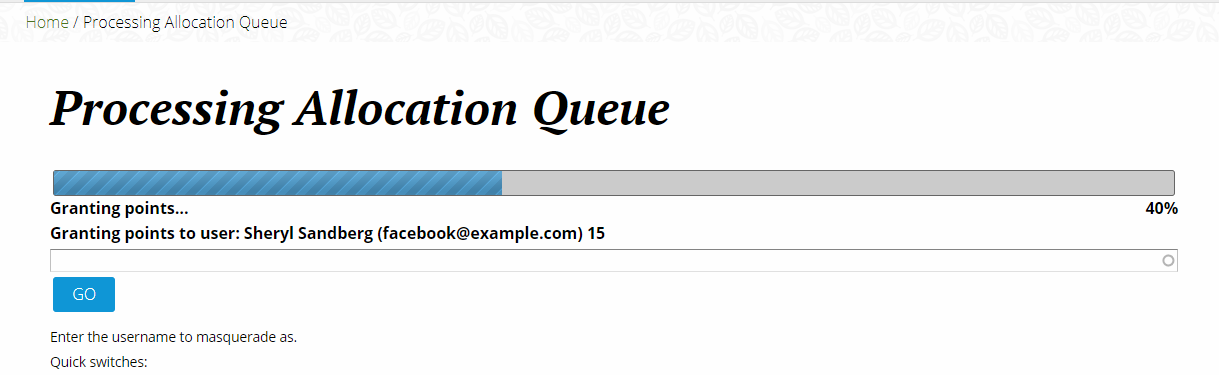
You will see this:
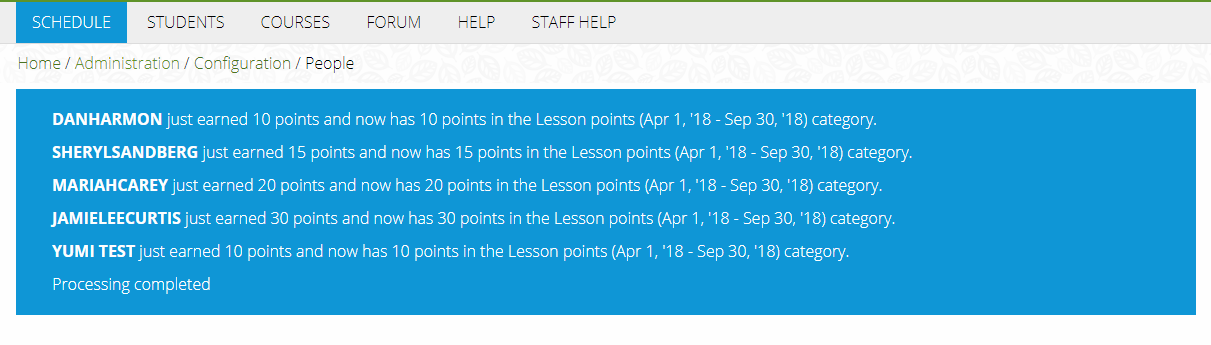
Then this:
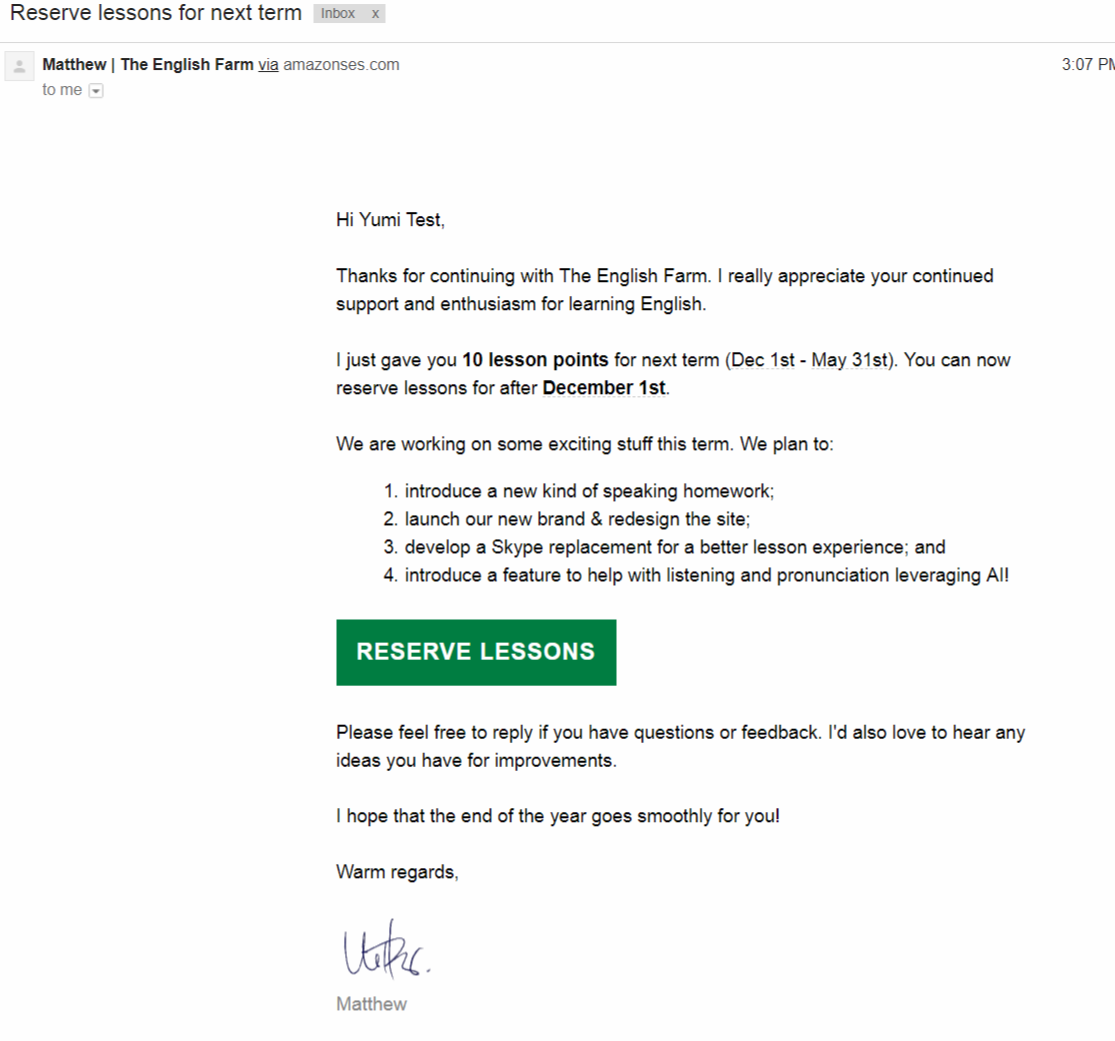
 The student will get an email like this (the email date is for Matthew to change):
And, you're done.